Transforming your digital artwork into beautiful, stitched reality is an exciting process. Whether you are starting a custom apparel business, designing corporate uniforms, or crafting personalized gifts, bridging the gap between pixel art and machine embroidery is essential. This is where mastering the conversion from a standard image file to a machine-readable format becomes crucial.
Understanding the DST Format
Before diving into the conversion process, it is helpful to understand why specific formats are required. Most digital graphics are saved as PNG (Portable Network Graphics) files because they preserve high image quality and support transparent backgrounds. However, embroidery machines do not understand pixels.
Machines read stitch files. The DST (Data Stitch Tajima) format is the universal language for commercial and home embroidery machines. A DST file contains exact X and Y coordinates, instructing the needle on where to move, when to drop, and when to trim the thread.
Why You Need a Dedicated Converter
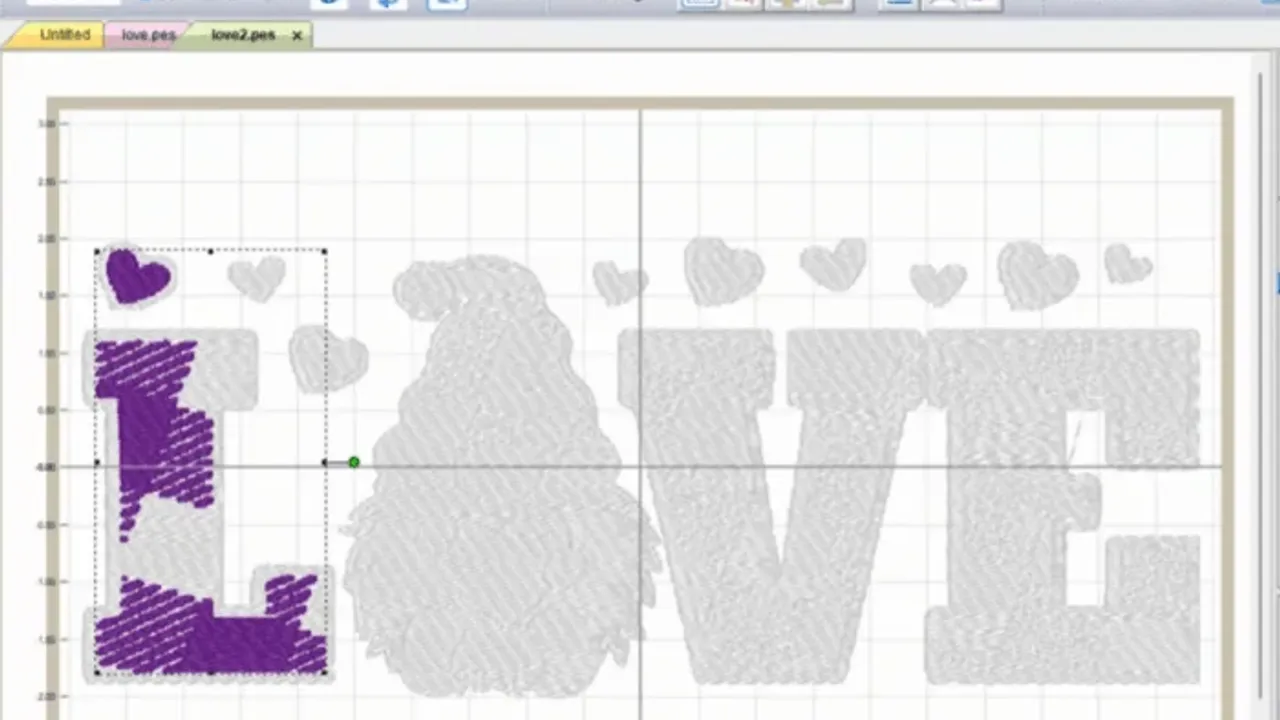
You cannot simply rename a .png extension to .dst. The image must be "digitized." Digitizing is the complex process of translating flat pixels into dynamic stitch paths, defining thread density, stitch types (like satin or fill stitches), and underlay settings.

Using a reliable PNG to DST Converter simplifies this highly technical process. Instead of spending hours learning complicated, expensive digitizing software, online tools use advanced algorithms to map out the best stitching routes for your specific design automatically.
Benefits of Converting Online
-
Speed and Efficiency: Get your embroidery files ready in minutes rather than waiting days for a freelance digitizer.
-
Cost-Effective: Save money on expensive desktop software licenses.
-
Accessibility: Convert files directly from your browser without needing heavy computer specifications.
-
User-Friendly: Designed for both beginners and experienced embroiderers to streamline their workflow.
How to Go from Image to Embroidery
Transforming your logos and designs is easier than ever. When utilizing an online platform, the workflow is generally straightforward and requires no prior digitizing experience.
-
Prepare Your PNG: Ensure your image is high-resolution with clean, crisp lines. Designs with solid, distinct colors translate best into thread.
-
Upload the File: Drag and drop your artwork into the converter.
-
Adjust Settings (If Applicable): Some platforms allow you to input the desired physical size of the final embroidered piece to calculate stitch density accurately.
-
Download the DST: Once the conversion is complete, download the digitized file to a USB drive and load it into your embroidery machine.
Turning a flat Image to Embroidery is a magical process that brings digital brands into the physical world. By utilizing the right online conversion tools, you can ensure your final embroidered products are clean, professional, and ready to impress.